Stainless Steel Cleaning Mistakes That Are Ruining Your Kitchen Equipment
Armchem Store
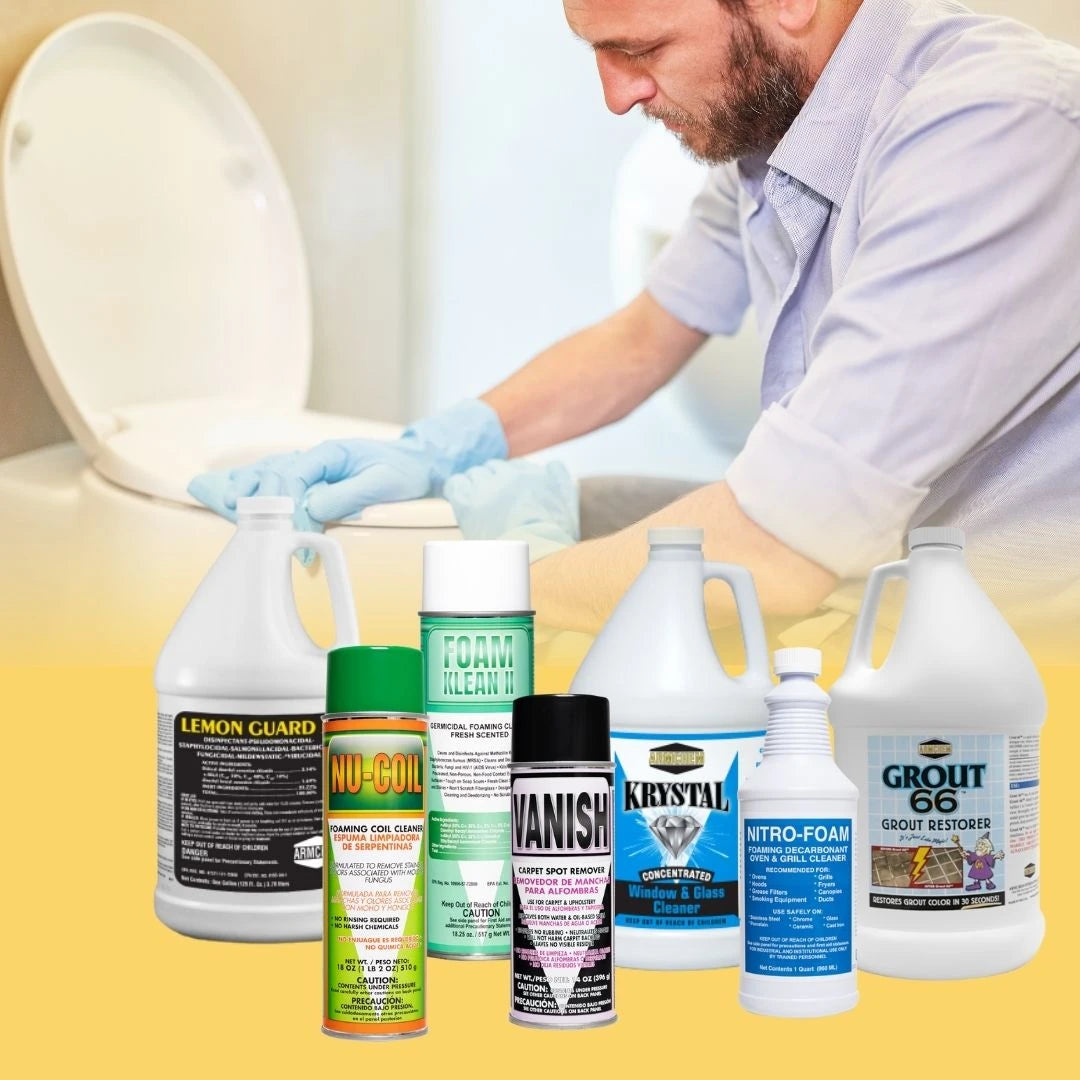
Walk into any commercial kitchen, hospital, or food processing facility and you’ll see it everywhere: stainless steel. Counters, sinks, refrigerators, prep tables, shelving, it’s the industry standard for good reason. Durable, sanitary, professional-looking.
Except when it’s not.
Look closer at most commercial stainless steel and you’ll notice something: scratches, streaks, dull spots, even rust developing on supposedly “stainless” surfaces. The culprit isn’t the equipment it’s how it’s being cleaned.
Most people are inadvertently destroying their stainless steel every single day, using techniques and products that seem reasonable but actually cause permanent damage. Here are the five mistakes costing facilities thousands in premature equipment replacement.
Mistake #1: Using Abrasive Tools
Steel wool seems logical for stubborn stains on steel, right? Wrong.
Stainless steel’s corrosion resistance comes from a microscopically thin layer of chromium oxide that forms on the surface. Every scratch from steel wool, scouring pads, or rough sponges breaks through this protective layer, exposing the underlying metal to oxidation.
The damage is permanent. Those scratches become highways for moisture and contaminants, creating the perfect conditions for rust. Ironically, the more aggressively you scrub with abrasives, the faster your “stainless” steel corrodes.
What to use instead: Microfiber cloths exclusively. They’re soft enough to prevent scratching while textured enough to remove soil effectively. For stuck-on food, let proper cleaner dwell to break down residue rather than scrubbing with force.
Mistake #2: Cleaning Against the Grain
Here’s something most people don’t know: stainless steel has a grain direction, just like wood. Look closely and you’ll see fine parallel lines running in one direction.
Clean across that grain and every stroke creates visible micro-scratches that dull the surface and trap dirt. Do this daily for months and your once-gleaming equipment looks perpetually dingy even when clean.
How to identify grain: Examine the surface at an angle under good light. The grain lines are subtle but visible. On most equipment, the grain runs horizontally on flat surfaces and vertically on doors and panels.
Proper technique: Always wipe with the grain, never against it. This simple directional change eliminates scratching and actually helps polish the surface with each cleaning.
Mistake #3: Using Generic Cleaners
Glass cleaner. All-purpose spray. Dish soap. These are the go-to products in most facilities, and they’re all wrong for stainless steel.
Glass cleaner leaves streaks because it’s formulated for non-porous glass, not metal. All-purpose cleaners often contain harsh chemicals that gradually strip the protective chromium oxide layer. Dish soap creates residue that attracts fingerprints like a magnet.
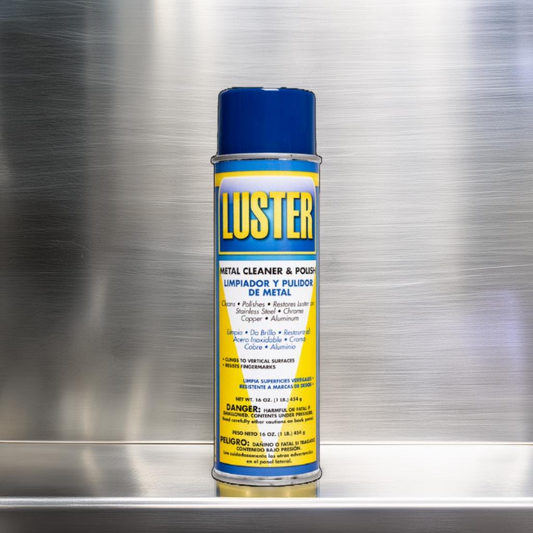
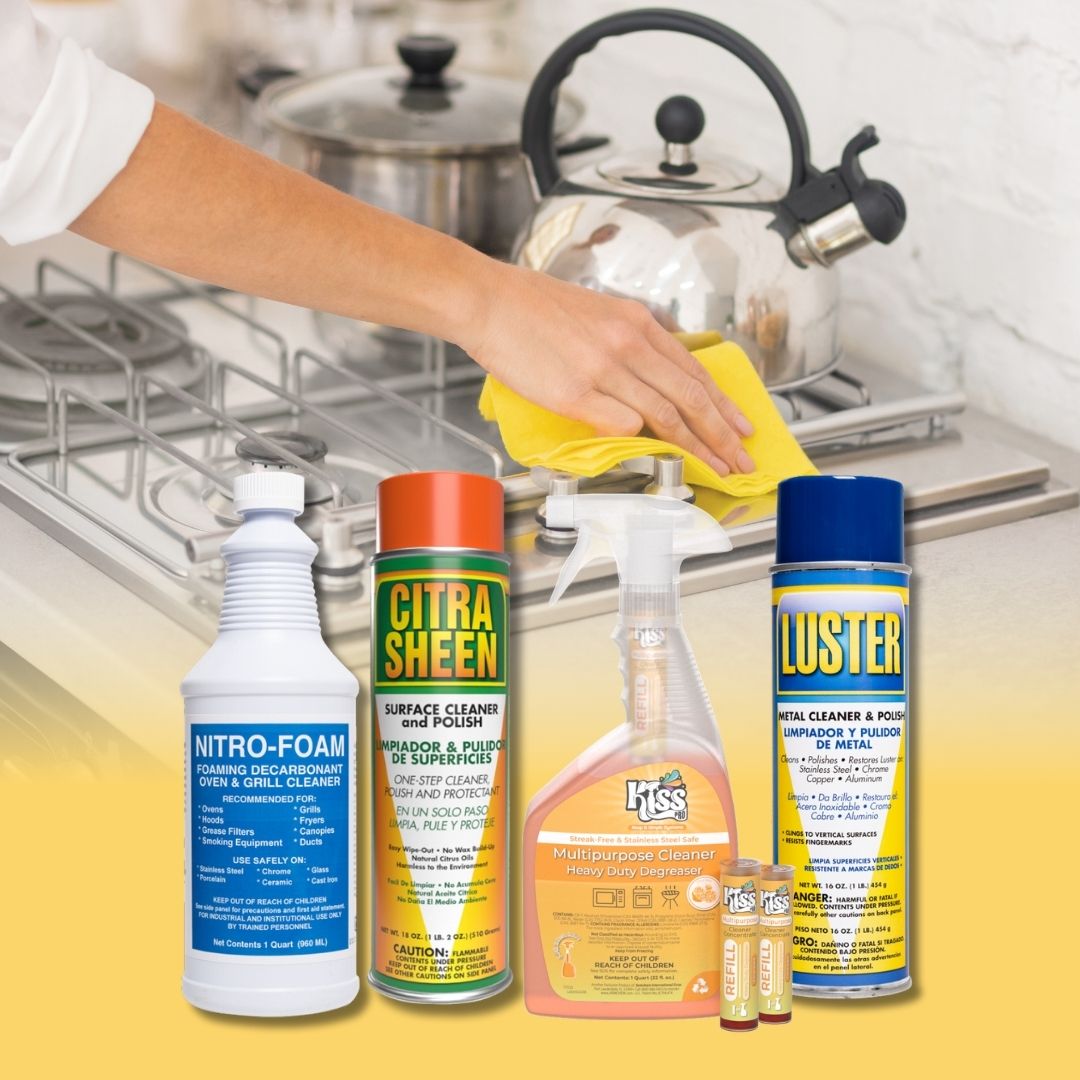
What stainless steel actually needs: A specialized formula that cleans, protects, and polishes in one step. Luster Stainless Steel Polish is designed specifically for commercial applications where appearance and longevity matter. It removes soil and fingerprints while depositing a protective layer that resists future contamination.
Unlike generic cleaners, Luster works with stainless steel’s chemistry rather than against it, maintaining the chromium oxide layer while creating additional protection.
Mistake #4: Not Rinsing Properly
Even good cleaners cause problems if residue remains on the surface. Cleaning solution left to air-dry creates spotting. Hard water used for rinsing deposits minerals that look like permanent staining. Both issues make equipment appear dirty even when it’s technically clean.
The streaking problem: Most commercial facilities see streaking because staff spray cleaner, wipe once, and move on. The cleaner dissolves soil but then dries on the surface, creating the very streaks you’re trying to eliminate.
Proper technique: After cleaning, buff with a clean, dry microfiber cloth to remove all residue. This final buffing step takes 10 seconds but makes the difference between streaky and showroom-perfect.
For Luster, the process is even simpler: spray, wipe with the grain, buff dry. The formula is designed to minimize residue, but that final buff ensures flawless results.
Mistake #5: Skipping Protection
Here’s the fundamental misunderstanding: cleaning removes soil, but it doesn’t protect against future contamination. Without a protective layer, clean stainless steel immediately starts accumulating fingerprints, water spots, and airborne grease.
This is why restaurant kitchens can clean equipment in the morning and find it covered with fingerprints by lunch. They’re cleaning but not protecting.
How polish prevents problems: Quality stainless steel polish like Luster leaves an invisible protective coating that repels fingerprints, water, and light soiling. This barrier means equipment stays cleaner longer and requires less frequent deep cleaning.
Application frequency: High-touch areas like refrigerator handles benefit from daily polish application. General equipment surfaces need polish 2-3 times weekly. Low-touch areas can extend to weekly application.
The protective layer isn’t permanent, but reapplying it takes seconds and dramatically reduces overall cleaning time.
The Right Way: Professional Results in Three Steps
Ready to actually make your stainless steel look new again? Here’s the proven process:
What you need: Luster Stainless Steel Polish and two clean microfiber cloths (one for application, one for buffing).
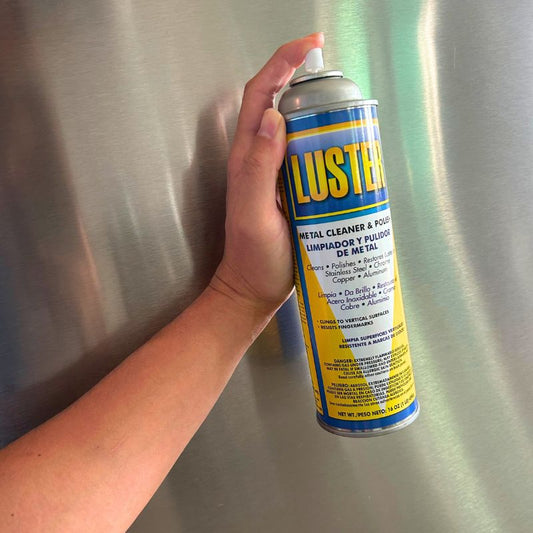
Step 1: Spray Luster directly onto the stainless steel surface or onto your microfiber cloth. Don’t oversaturate, a light, even mist is sufficient.
Step 2: Wipe with the grain using moderate pressure. Watch soil and fingerprints disappear while the protective polish layer forms. For heavily soiled areas, let Luster dwell for 30 seconds before wiping.
Step 3: Immediately buff with a clean, dry microfiber cloth, again working with the grain. This removes any excess product and brings up the brilliant shine stainless steel is known for.
Total time per linear foot: approximately 15-20 seconds. The same equipment cleaned improperly with generic products might take 45-60 seconds and deliver inferior results.
Maintenance schedule: Daily polish on high-visibility, high-touch areas. Every 2-3 days on general equipment. Weekly on low-touch surfaces. This frequency maintains protective coating and keeps stainless steel looking perpetually new.
Stop Destroying What You’re Trying to Protect
The five mistakes, abrasive tools, cleaning against the grain, using generic products, improper rinsing, and skipping protection are costing your facility money in premature equipment replacement, excessive cleaning labor, and diminished professional appearance.
The good news? Switching to proper technique and products delivers immediate, visible results. Equipment you thought was permanently damaged often just needs correct care to return to like-new condition.
Transform your stainless steel maintenance today. Get professional results with Luster Stainless Steel Polish, formulated specifically for commercial applications where performance matters. Order now at armchem.com/luster.
Your equipment should look as good as the day it was installed. With the right approach, it can.